DIY Interior Painting like a Pro: The Ultimate Guide to Flawless Walls
Introduction
Learning how to execute DIY interior painting like a pro is usually motivated by a quote from a professional painter that made your jaw drop. I remember getting a quote of $800 to paint a single small bedroom. I thought, “How hard can it be? It’s just colored liquid on a wall.” So, I bought a cheap roller, a gallon of beige paint, and spent my Saturday making a mess. The result was patchy, the edges were wobbly, and I ruined my carpet.
I realized then that painting isn’t just labor; it is a trade skill involving chemistry and technique. However, you can achieve professional results if you stop treating it like a chore and start treating it like a process. According to the Joint Center for Housing Studies at Harvard University, interior painting is the most common DIY project undertaken by homeowners, yet it is also the one most commonly botched.
In this comprehensive 1200-word deep dive, I will teach you why “Prep” is 80% of the job, the physics of paint sheens, and the exact DIY interior painting like a pro techniques to ensure your walls look like they belong in a magazine, not a kindergarten classroom.
1. The 80/20 Rule: Preparation is Everything
If you watch a professional painter, they spend 4 hours preparing the room and only 1 hour actually painting. Beginners do the opposite. If you paint over dust, the paint will peel. If you don’t patch holes, the light will catch them.
The Professional Prep Checklist:
-
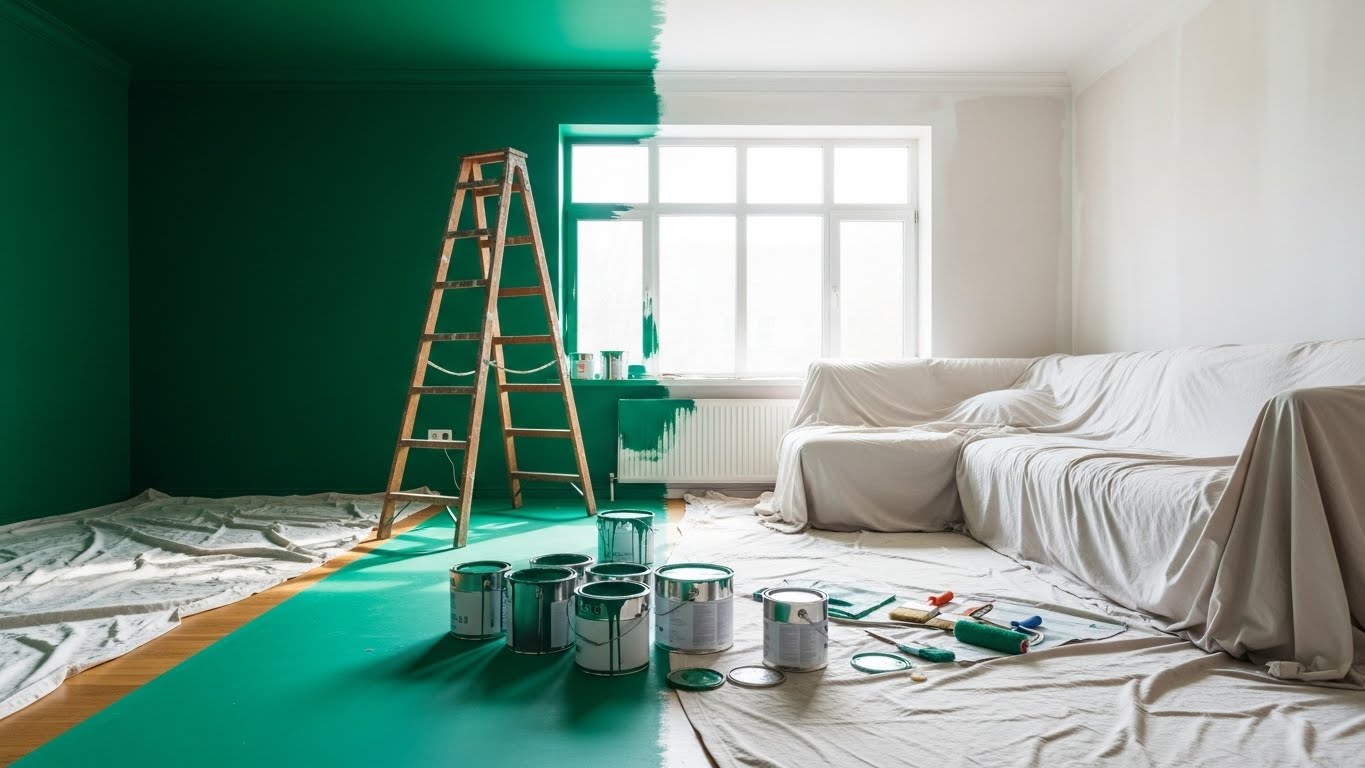
Move and Cover: Move furniture to the center. Cover everything with canvas drop cloths (plastic is slippery and dangerous).
-
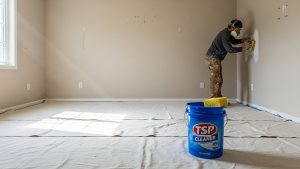
Clean the Walls: This is non-negotiable. Walls have invisible layers of dust and finger oils. Wash them with TSP (Trisodium Phosphate) or a mild degreaser. Paint needs a clean surface to bond chemically.
-
Patch and Sand: Fill nail holes with spackle. Once dry, sand the entire wall lightly with 120-grit sandpaper. This “scuffs” the surface, giving the new paint “teeth” to grip onto.
Safety Note: If your home was built before 1978, be careful of lead paint. Disturbing it can be hazardous. Refer to EPA guidelines before sanding old walls.
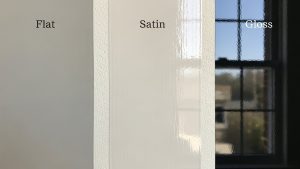
2. Understanding Sheen: It’s Not Just About Color
Picking the color is fun; picking the sheen (shine level) is science. Sheen affects how durability and how light reflects off the wall.
-
Flat/Matte: Zero shine. It hides imperfections (bumps) perfectly but is impossible to clean. If you wipe it, the paint comes off. Use only on ceilings or low-traffic adult bedrooms.
-
Eggshell/Satin: The Goldilocks zone. It has a soft glow and is wipeable. Perfect for living rooms and hallways.
-
Semi-Gloss/Gloss: High shine. It reflects light and highlights every single bump on the wall. However, it is moisture-resistant. Essential for bathrooms, kitchens, and trim.
Choosing the wrong sheen is the rookie mistake that makes a wall look cheap or dirty.
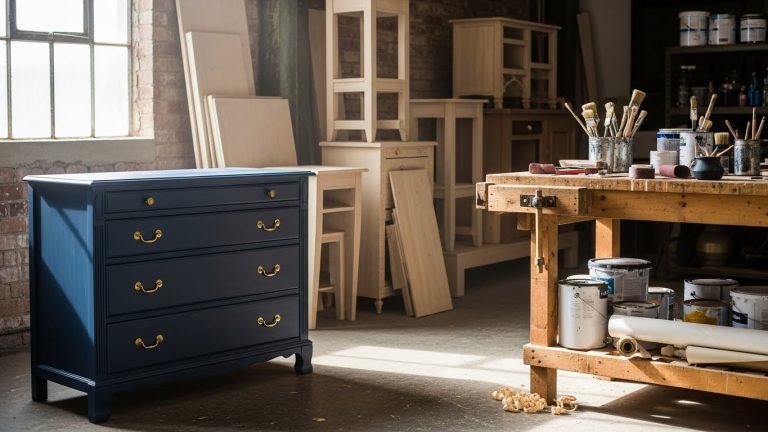
3. Tools of the Trade: Why Cheap Brushes Ruin Walls
You cannot do a good job with a $1 plastic brush. Cheap brushes have coarse bristles that leave “tracks” in the paint. Cheap rollers shed fuzz onto your wall that dries into the finish. What to Buy:
-
Angled Sash Brush (2.5 inch): For cutting in corners. Look for “synthetic filament” for latex paint.
-
Microfiber Roller Covers: They hold more paint and leave a smoother finish than foam or cheap polyester.
-
Extension Pole: Painting without a pole destroys your back and results in uneven pressure. Screw your roller handle onto a broomstick or specialized pole.
4. The Technique: Cutting In and the “W” Roll
Now, we paint. But we don’t just slap it on. Step 1: Cutting In Paint the edges (ceiling line, corners, baseboards) first with your brush. Create a 3-inch border. Do one wall at a time. You want to roll the wall while the “cut in” border is still wet (Wet Edge) to blend them seamlessly. If the border dries first, you will see a “picture frame” effect.
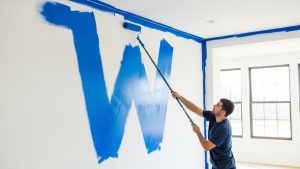
Step 2: The “W” Pattern Do not paint in vertical stripes immediately.
-
Load the roller.
-
Paint a large “W” or “M” shape on a 3×3 foot section of the wall.
-
Fill in the W with vertical strokes without lifting the roller. This distributes the paint evenly across the section. Then, do a final “Lay-off” stroke: gently roll from the ceiling to the floor in one smooth motion to remove roller marks.
5. The Tape Trauma: When to Peel
We have all been there: You finish painting, you peel the blue tape, and… it rips the paint right off the wall. Or, the paint bled under the tape, leaving a jagged line. The Pro Secret: Peel the tape while the paint is still wet (or tacky). If you let the paint dry completely, it forms a bridge over the tape. Peeling the tape breaks that bridge and rips the wall paint. If you must let it dry (for multiple coats), use a razor blade to gently score the edge of the tape before peeling.
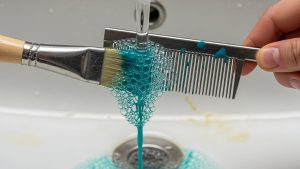
6. Cleanup and Storage: Saving Your Brushes
Good brushes are expensive. If you clean them, they last for years.
-
Latex Paint: Wash with warm water and a little dish soap. Use a “painter’s comb” to separate the bristles and get the paint out of the “heel” (where the bristles meet the metal).
-
Mid-Project Storage: If you are taking a lunch break or finishing tomorrow, do not wash the brush. Wrap it tightly in plastic wrap or a Ziploc bag and put it in the fridge. It will stay wet for 24 hours.
Frequently Asked Questions (FAQs)
Q: Do I really need primer? A: If you are painting over a dark color, raw drywall, or patched holes, YES. Primer seals the surface and provides a neutral base. “Paint and Primer in One” is okay for color changes, but for repairs, use a dedicated primer.
Q: How do I avoid roller marks (lap marks)? A: Keep a “Wet Edge.” Never let the edge of the painted area dry before you roll the next section. Also, don’t press too hard. Let the roller do the work.
Q: Why is my paint bubbling? A: This usually happens if the wall was wet, dirty, or hot. Or, you painted latex over oil-based paint without priming. Scrape it off, sand, prime, and repaint.
Q: How much paint do I need? A: A gallon typically covers 350-400 square feet (one coat). Always buy a little more than you think. Colors can vary slightly between batches, so mix gallons together (“Boxing”) for consistency.
Conclusion
Executing DIY interior painting like a pro is one of the most satisfying home improvements you can master. It transforms a room instantly and adds value to your home. It requires patience, preparation, and respect for the materials. But when you peel back that tape (while wet!) and see that razor-sharp line, the feeling of accomplishment beats paying a contractor any day. Put on some old clothes, turn up the music, and transform your space.